


Find out what types of heat shrink tubing are available, how to choose the right one for each environment, and what are the key steps to secure and long-lasting cable protection. In addition, we review the most common mistakes in its installation and how to avoid them to ensure a professional finish.
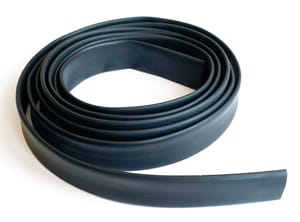
Why is heat shrink tubing still a must-have?
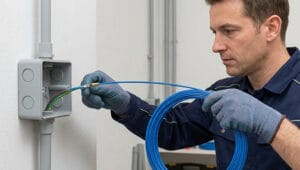
In professional electrical and electronic installations, heat shrink tubing is one of the most reliable and versatile protection solutions available. Its mechanism is simple: when heat is applied, the material (usually polyolefin) contracts, the shrinkage ratios of 2:1 or 3:1 are the most commonly used. This gives the tube the ability to form precisely around the conductor or component.
In addition to basic electrical insulation, heat shrink offers mechanical protection against abrasion, chemical protection against moisture and corrosive agents, and in adhesive versions, a tight seal. Their correct selection and application makes the difference between a long-lasting installation and one that generates premature failures.
Rule of thumb: For the best insulation and protection results, select the appropriate diameter, measuring the diameter of the conductor or component at its widest point. The inside diameter of the tube before contracting should be 20% to 30% greater than that value, but less than the diameter of the tube at its maximum shrinkage.
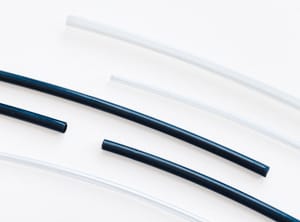
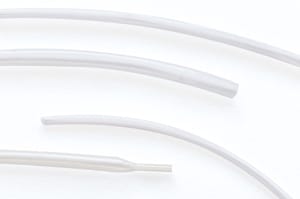
Types of Heat Shrink Tubing
The choice of the right type depends on the working environment, electrical requirements and mechanical conditions of the installation. Here are the main types you'll find in professional wiring projects:
Standard Polyolefin
With a shrinkage ratio of 2:1 and 3:1, as the most common, it is the most commonly used in electricity and general electronics and light industrial wiring. Application temperature: 90–120 °C. Working range: −55°C to +135°C.
High-shrinkage polyolefin
Suitable for irregular profile connectors, joints or areas with pronounced diameter variation. Offers greater coverage with a single piece. It offers a shrinkage ratio of 4:1 or higher.
With internal adhesive (dual-wall)
Contains an internal coating of thermo-flux adhesive polyamide. When contracted, it completely seals the cable against moisture, dust and corrosion. Essential in marine, outdoor environments or under the hood of the vehicle.
PVDF / Kynar
Superior chemical resistance to solvents, acids and oils. Working temperature up to +175 °C. Used in chemical, aeronautical and military industry.
FKM / Viton
Very resistant to both high and low temperatures without breakage. Manufactured with a modified fluorinated elastomer, it is used for applications where high temperature resistance is required. It also has a high resistance to solvents and other chemicals. For the protection of cables, joints, connectors, components, etc. as a perfect substitute for silicone tubing.
PTFE / Teflon
Highly flame retardant and highly resistant to high temperatures and chemical agents. Specially designed to offer insulation and mechanical protection in severe thermal and chemical environments. It is used to cover hoses and hydraulic couplings to prevent contamination and corrosion. The high mechanical strength and extremely low coefficient of friction make it ideal for reducing damage to bearing shafts and similar applications.
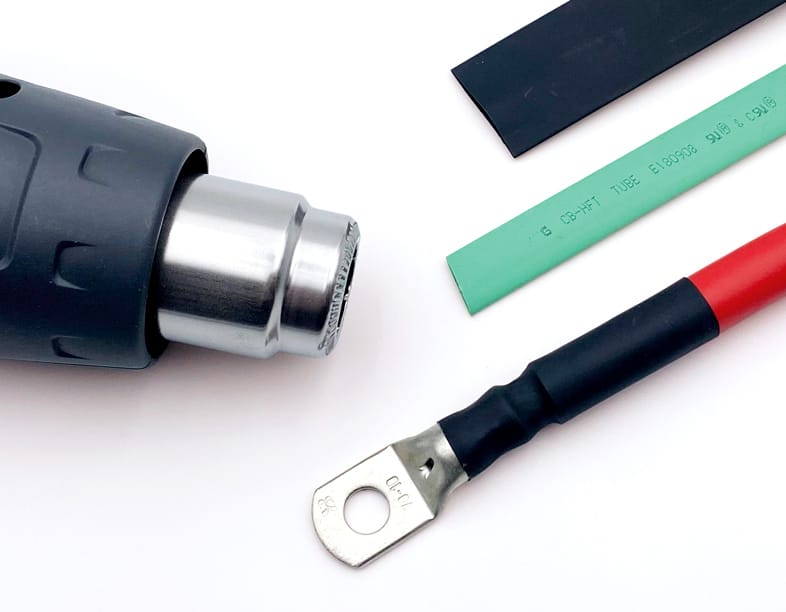
Step by step
The assembly of the PCB-402 clamps is done in five simple steps:
- Cable preparation and area cleaning
Remove any remaining oil, moisture, or dirt from the driver and work area. In the case of tubes with internal adhesive, this is especially critical: any contaminants compromise the tightness of the final seal.
Tip: Use 99% isopropyl alcohol (IPA) and let dry completely before proceeding. - Cutting the tube to size
Cut the pipe with a clean blade or scissors, at right angles. The length must exceed the area to be protected by at least 10 mm at each end, depending on the conductor or component to be covered, as there is also a slight longitudinal contraction.
Avoid using rusty blades or dirty surfaces: they leave residue that affects uniform shrinkage. - Correct positioning
Slide the tube over the cable before making any terminal connections that prevent it from passing. Center the tube over the area to be covered, making sure that the overlap at both ends is symmetrical. - Heat Application: Technique and Temperature
Using a heat gun, keep a distance of 3–5 cm and apply the heat in even strokes from the center to the ends. Always use a gun with a contour diffuser. This prevents the formation of trapped air bubbles. The typical activation temperature for standard polyolefin is between 90°C and 120°C.
For tubes with adhesive, it is normal to see a small amount of adhesive flowing around the edges: it is an indicator of a correct seal.
Never apply heat statically to a single point: it causes uneven shrinkage and possible burns on the material.
DO NOT use flame for tube contraction. - Cooling and Visual Inspection
Let cool unhandled for at least 30–60 seconds. Once cool, the tube should have a uniform contour, without deep longitudinal wrinkles or uncontracted areas. In critical installations, verify electrical continuity before terminating the installation.
A deformation or uncontracted area indicates insufficient temperature or improper movement of the gun.
Common mistakes and how to avoid them
Even experienced technicians reproduce some errors in series. Identifying them reduces the percentage of rework and ensures the durability of the installation.
Wrong diameter: tube that is too large that it does not seal, or so tight that it no Slide over the component before contracting.
Always measure the maximum diameter of the component and refer to the selection table of the manufacturer. As a rule, the inside diameter prior to shrinkage should be 20% greater than widest stitch.
Excessive temperature or static gun: surface burning, discoloration, bubbling and loss of dielectric properties. It is the most frequent error in manual installations fast.
Use heat guns with adjustable temperature and contour diffuser. Always keep moving Continue and respect the minimum distance of 3–5 cm between the nozzle and the tube.
Pre-application humidity: in tubes with adhesive, the presence of moisture prevents sealant adhesion and creates invisible internal cavities that allow water to enter in the long term.
Always clean and dry the area before applying, especially in outdoor environments or with condensation. 99% isopropyl alcohol removes both grease and surface moisture effective.
Insufficient length: coverage that does not protect the ends of the joint, leaving The transition between conductor and cable insulator is exposed.
Always add a minimum overlap of 10 mm per end. In applications with sealing adhesive airtight, the recommended overlap is 15–20 mm.
Improper storage of the tube: partial pre-shrinkage due to exposure to ambient or solar heat causes the tube to arrive already deformed at the time of use, reducing its sealing capacity.
Store rolls and coils in a cool, dry place away from heat sources. The temperature of The recommended storage rate is 0°C to +35°C.
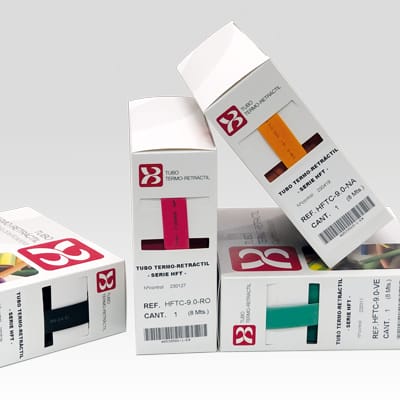
Find the right tube for your application
In the catalogue of XB Components You will find a wide range of heat shrink tubing for all kinds of applications. We have models with a shrinkage ratio of 2:1, 3:1, 4:1 and 6:1, as well as versions with internal adhesive, for high temperatures, high performance, non-slip and printable.
Consult the catalogue and choose the heat shrink tube that best suits your installation or contact our technical team for advice according to your specific application.
VIEW CATALOGXB Components, a leader in the electrical components industry, is recognized for our commitment to quality and customer service. Our mission is to provide innovative and high quality solutions that meet the needs of our customers.
Subscribe to our newsletter
Subscribe to our newsletter
We will inform you about news, promotions, events...